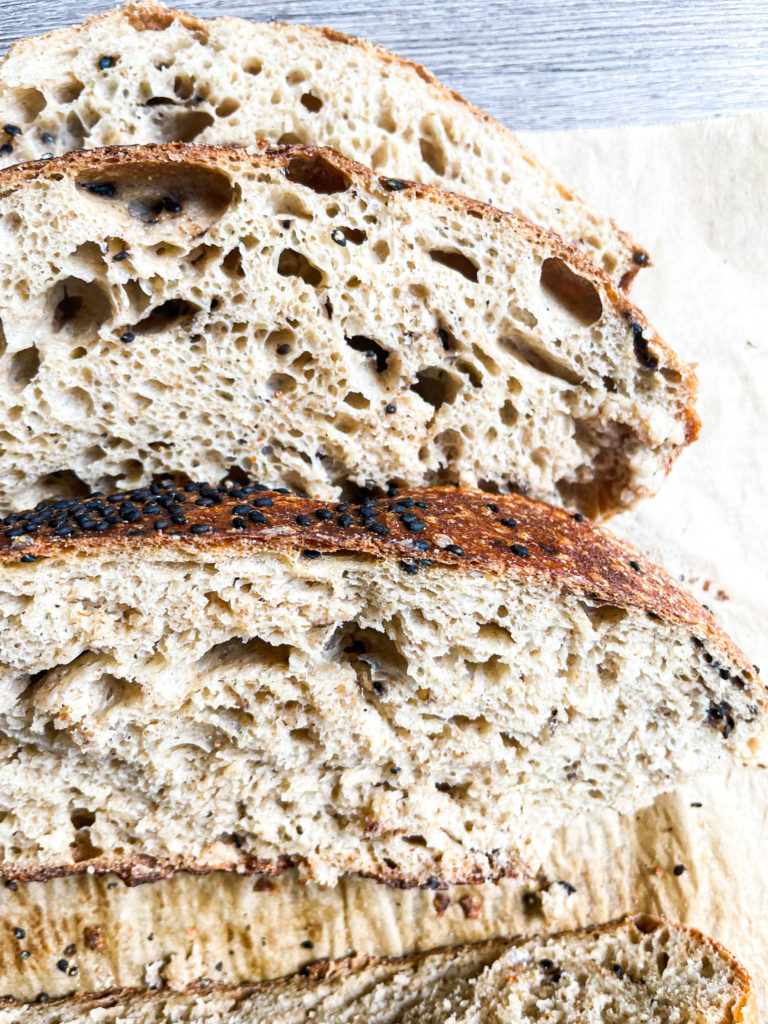
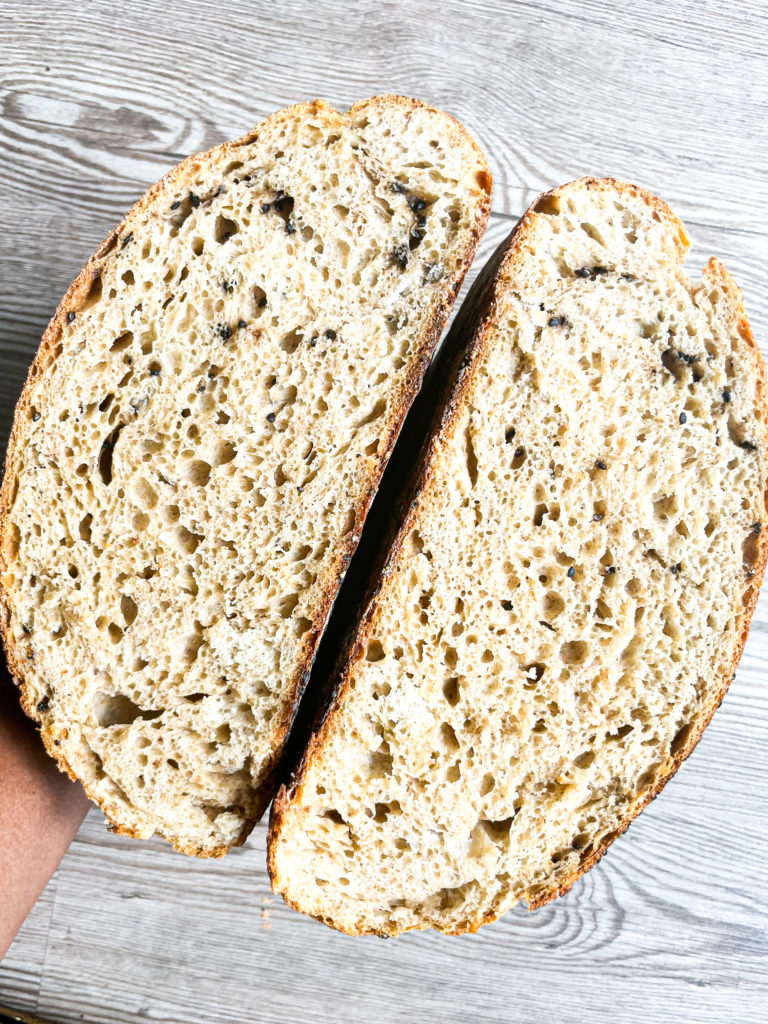
This miso sesame loaf is a perfect way to change up your sourdough, providing a rich, umami flavour that is absolutely delicious.
Sourdough is such a versatile bread to experiment with so many flavours. Miso and sesame serve as the perfect additive to add that extra umami flavour with a nutty hint. Miso, fermented soybeans, is an incredible condiment used in many Japanese dishes, so combining this flavour with the slightly sour sourdough is just a next-level flavour compilation. This sesame miso sourdough is hands down one of my favourite loaves to make.
If you are new to sourdough bread baking, please check out my sourdough 101 blog post (click here).
What you will need
- Sourdough Starter at 100%: If you want to learn how to make a sourdough starter, please check out my sourdough 101 blog post. I feed my starter the night before with at least 100g of flour (50% All-purpose flour, 50% rye) and 100g of water to have enough for loaf the next day.
- Water: Filtered water is best
- White Bread Flour: I use an unbleached white bread flour I get from my local bulk store
- Whole Wheat Flour: whole wheat flour is what gives the bread a depth of flavour and the slight sourness
- Salt: good quality sea salt is the best. Salt is important, even though we are adding miso, it helps slow down fermentation to allow the dough to develop flavour
- Miso: A good quality brown miso (genmai miso) adds such a rich flavour. I get mine at an Asian grocery store and it lasts a long time in the fridge.
- Roasted Sesame Seeds: Roasted black sesame seeds add a delicious roasted flavour to this loaf.
Baking Schedule

This baking schedule can be accommodated for anyone busy during the day. I actually start my bread-making process the night before and have my dough shaped before lunch time but to each their own.
- Morning: Feed the starter in the morning, before work and keep in a nice warm place
- After work (5 pm): Autolyse
- 6pm – 10pm: Bulk fermentation with stretch and folds
- 10pm: shape the dough
- 10pm – 6am: cold proof
- 6:30am: bake loaf (for better flavour, you can bake the dough in the evening instead of morning)
Let’s make some bread
Ingredients
Details on baker’s percentage are available on my sourdough 101 blog post.
Bakers percentage
Weights per 600g loaf
- 20% sourdough starter at 100% hydration
- 75% water
- 75% White bread Flour
- 25% Whole Wheat Flour
- 1.5% Brown Miso
- 1.5% salt
- 2% Roasted Sesame Seeds
- 120g sourdough starter
- 450g water
- 450g of White bread flour
- 150g of Whole Wheat flor
- 9g Brown Miso
- 9g Salt
- 12g Roasted Sesame Seeds
Directions
- When your starter is ready, mix the starter with the flours and water to autolyse for 1 hour
- After the 1 hour, add in the salt and miso and mix it in very well
- After fully incorporating the miso and salt, slap and fold the dough a few times to start the development of gluten. For more details on kneading sourdough, please refer to this video (click here)
- After slapping and folding, your dough will bulk ferment for about 3-4 hours depending on how warm your kitchen is. In the first two hours, perform a series of stretches and folds to help develop gluten. I incorporated the sesame seeds in the last stretch and fold. For more details, please refer to this video (click here). In the last hour or two, let the dough continue to ferment. At the end of the time, your dough should be about 1.5x the original size
- To shape your dough, place the dough on a nice even surface then roughly shape it. Let it rest for about 15 minutes, then properly shape the dough. For references on shaping, please refer to this link (click here)
- Proof the dough in the fridge for 8+ hours or up to 24 hours
- Preheat oven with dutch oven inside at 500°F.
- Once the oven is hot, take the dough out of the fridge and onto parchment paper, score the loaf then place it in the hot dutch oven. Add one ice cube, cover the dutch oven then return to the oven.
- Lower the heat to 450°F and bake for 25 minutes. After 25 minutes, remove the cover of the dutch oven and reduce the heat to 425°F. bake for another 25 minutes
- Remove the loaf from the oven and let it cool completely before slicing.
Want More Sourdough Recipes?

14 Comments
Sarah
August 13, 2022 at 8:43 amDoes the ice cube go inside the dutch oven?
thecanadianafrican
August 19, 2022 at 3:50 pmYes, it does.
Angie
November 11, 2023 at 12:25 pmDo you mix in the sesame seeds or sprinkle them on top?
Mariane Takahashi Christovam
November 8, 2022 at 9:36 pmNice recipe! You do the autolyse on room temperature? or in the fridge?
thecanadianafrican
November 9, 2022 at 12:29 amautolyse is at room temperature 🙂
Djansang Bread - The Canadian African
December 1, 2022 at 11:22 pm[…] Sesame Miso Sourdough […]
iloveveganicecream
January 16, 2023 at 8:08 amThis bread is fantastic! I followed the timing directions exactly and it produced a well-risen loaf with great flavor.
Lauren
January 7, 2024 at 1:31 amI don’t see any instruction on when to put in sesame seeds? Can you clarify?
thecanadianafrican
March 7, 2024 at 8:59 amRecipe has been updated
Mary
January 12, 2024 at 2:18 pmIs there enough dough to make 2 loaves?
thecanadianafrican
March 7, 2024 at 8:58 amtwo small loaves for sure but the baking time will vary
rose
January 22, 2024 at 6:51 pmHi there, Can you tell me at what point the sesame seeds get added? Thank you!
thecanadianafrican
March 7, 2024 at 8:58 amI have updated the recipe!
Shirley
February 15, 2024 at 7:07 amWow, my bread’s crust had a deeper earthier smell than my usual bakes, while everyone couldn’t really taste the miso, but definitely added some umami overall (like how msg works in foods), I had pumpkin seeds and crushed nori inclusions, and coated my bread surface with sesame seeds, overall, super delicious with butter, and so good with savoury toppings like cheese and relish. Thank you for sharing, I always wanted to add miso, but didn’t know how much I needed to put in without making it too salty, turns out 1.5% salt and 1.5% miso (I used red) hits it just right.